
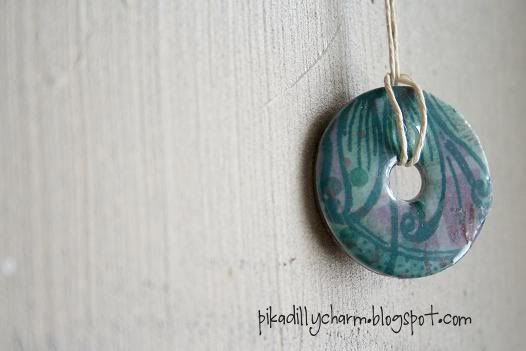
Here is a way to put to use something you may find in your garage.
What You'll Need:
- 1 1/2 inch metal Washers
-Exacto knife or Scissors
-Scrapbook paper
- Glue (I used E-6000)
-Paper or plastic cup and plastic spoon
- A pour on High Gloss Finish (This is the pricey part of the project.....I used enviro-tex Lite)
- File (optional)
- Chain or string to hang it from
-Wax paper
-2 Wooden blocks or 2 small paper cups
The How To:
- First glue your washer onto the BACK of the scrapbook paper.
- When it is dry cut it out. Using an exacto knife makes this a lot easier....esp with cutting the hole out of the center of the washer.
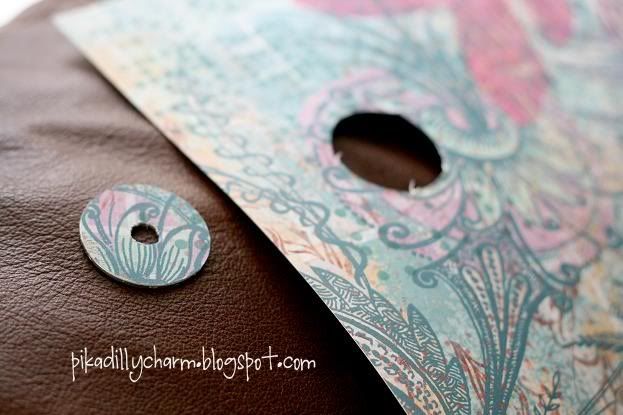
- Next (is optional) if you wanted you could use the file to help smooth out the edges if they look rough.
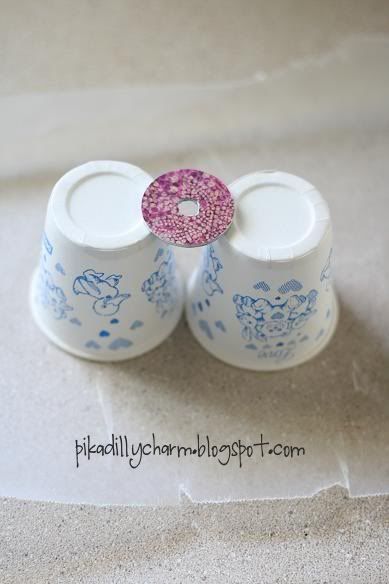
- Then, put some wax paper down on the surface you are working on. And place the wooden blocks or small paper cups next to each other on the wax paper. This is so when you put the gloss on the washer it will run through the hole and down on to the wax paper.
- I used the plastic/paper cup and plastic spoon to mix it. And I just followed the directions from the package to mix it. Be sure to do as it says. Especially when it comes to the mixing part. Mixing well for 2 minutes means mix fast for the WHOLE 2 minutes.....even if it gets bubbly. 'Cause if its not mixed well it won't set and harden.
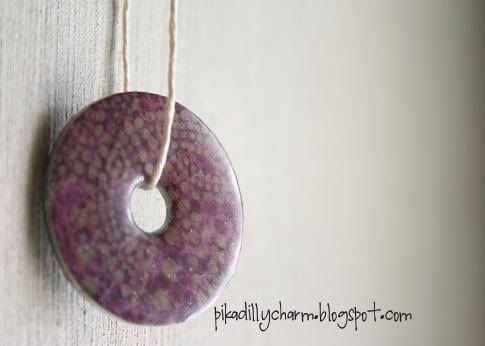
- When I was done mixing, I scooped out some on the spoon and poured it slowly on the top of the washer in a circle. Adding more until it was even and covered the front side of the washer.
- If you do notice tiny little bubbles forming, do as the pour-on gloss directions say and slowly exhale on your washer to get rid of them.
- This is a pretty thick mixture and it should give your washer's edges a rounded/polished look. These pictures really don't show just how much dimension and roundness it adds to the edges.
- Be sure to let it dry for 48 hours before adding your chain or string to hang it from.
2 comments:
I've always loved these!
I'm not going to lie - when I saw this mini-sized on my phone, I thought hmmmmm...really? But, how cute they are! Makes me wish I was in YW to make them!
Post a Comment