We are happy to share our photos and tutorials with anyone interested in spotlighting our crafts. Please be sure to link to our original posts and give us credit for our work. Thank you for your consideration and respect. We hope you enjoy our blog!


Showing posts with label Living Green. Show all posts

Tuesday, February 12, 2013

Fruity Soap


 photo soapg_zpsa7a2f659.jpg

What You'll Need:

- Clear pure glycerin soap (I found mine at my local craft store)

- Silicone muffin pan

- Pureed fruit, herbs, or berries of your choice


The How To:

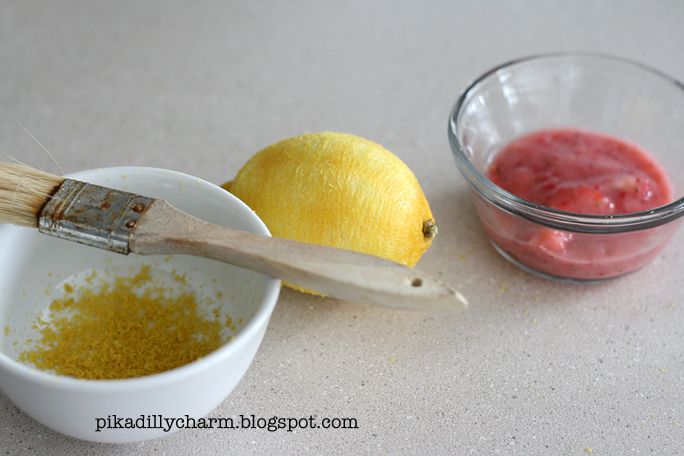
 - First puree (or zest) your ingredients.


 photo soapb_zpsa58fe8cd.jpg


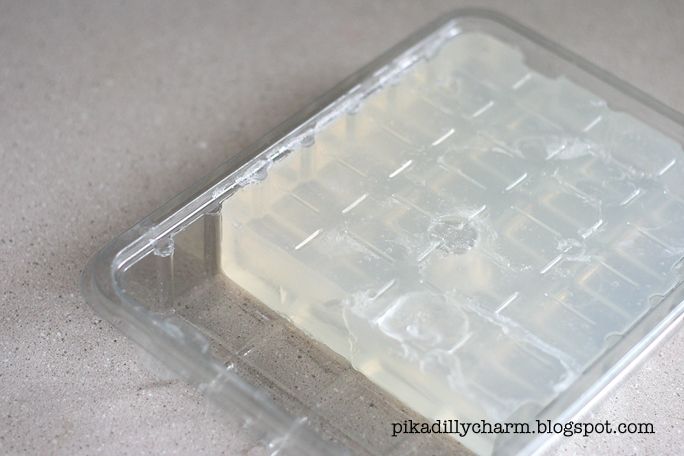
- Next, melt your pure glycerin soap according to the directions on the package.

*Note: I melted 8 blocks of my soap and it gave me 11 small soaps.

 photo Soap_zps7d0a0c39.jpg


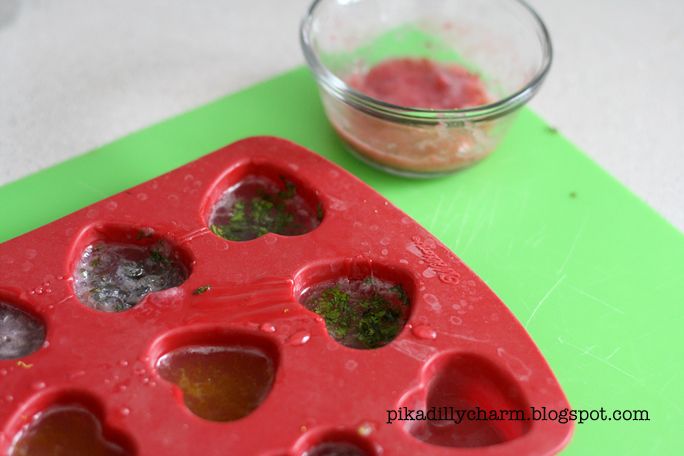
- Now it is time to mix your different fruits/herbs/berries into the melted soap.  Be sure to start with adding small amount at first (like a teaspoon of the fruit/herb/berries at a time) until you get the desired consistency and/or color.

- Then pour/spoon it into the muffin pan.  (I put 2 Tablespoons of soap into each muffin slot)


 photo soapc_zps8fdaf093.jpg


- Let you soap cool according to the package directions (probably a couple of hours) until it is hardened.

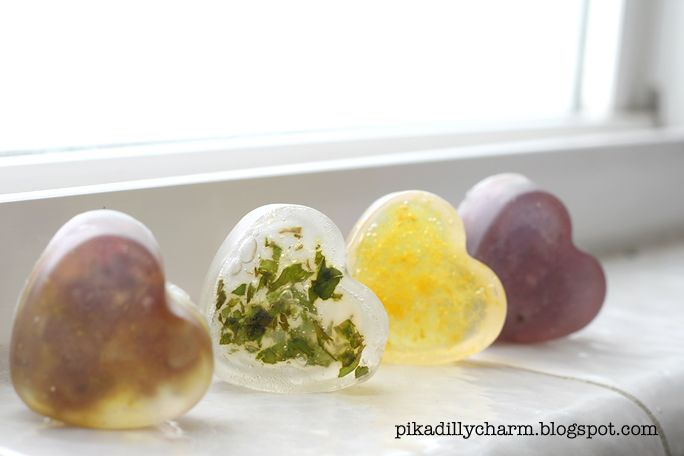
- Next pop the soap out of the silicone muffin pan and, waalaa, you have some fruity smelling soap.


Oh and be sure to use it within a couple of months.
 photo soapf_zps7ee2d6c5.jpg

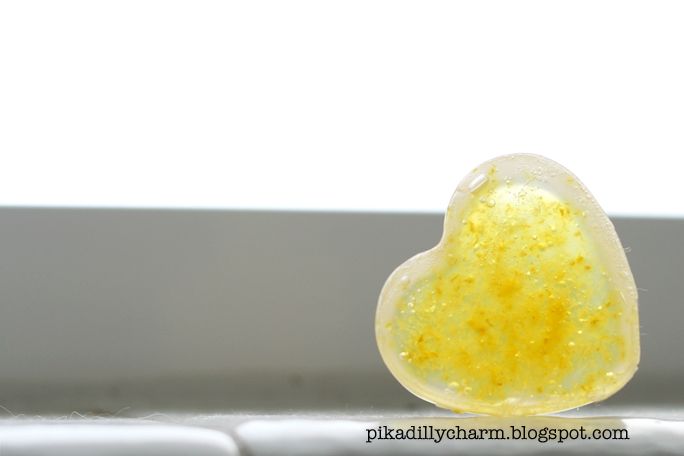
Some of the different things i tried in my soaps were: lemon, strawberry, mint.  Then a couple of combos of the above: lemon + strawberry, mint + strawberry
 photo soaph_zps93e1c685.jpg


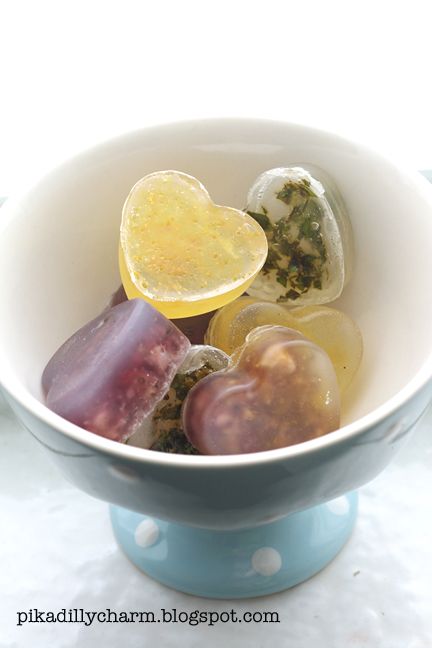
Since Valentines is right around the corner I think my girls would think it would be fun to each get their own heart shaped fruity soap.

Friday, December 3, 2010

Cardboard Flower

Living Green


If you have any of the empty paper towel tubes, heres a great way to make something cute with them.

Photobucket

What You'll Need:
-Empty paper towel tube

-Scissors

-Spray Paint (optional)

-Candle

-Hot Glue Gun


The How To:
- Take your empty paper towel roll and spray paint it whatever color you want. I did mine white and I sprayed the inside of it white as well.

Photobucket

- Next cut it into 1/2 inch thick pieces.

Photobucket

- Then, using the hot glue gun, glue them together. I put a dot of glue on the center of the inside edge of each piece. This is to help it curve or slant around into a circle.

Photobucket

- As you glue them together be sure to check every once in a while to see if it is shaping right around your candle. Be sure to check and make sure that the cardboard tube is NOT going to be too close to the flame of the candle...wouldn't want anyone to start a house fire. =/

Photobucket


And, wa-la, you have a cute little way to spice up your candles.


Photobucket

Wednesday, October 20, 2010

Composting Pumpkins

Living Green

Photobucket

Can you believe that in the U.S alone over a billion pounds of pumpkins are produced every year?! And who knows how many of those are carved.

So, instead of sending it to the landfill consider composting your jack o'lantern....that's the most 'green' thing you can do with a carved pumpkin.

The How to:
-If you don’t have a compost bin or only a balcony, you can use any plastic container to hold your humus until you start planting next year’s garden.

-Before adding the pumpkin to a compost pile, but sure to remove all the seeds first! Pumpkin seeds are hardy enough to live through the whole composting process. That means, unless you want pumpkins everywhere you put the fresh compost, you may be in for a long summer of weeding!

-If you already have a compost bin or pile, chop up the pumpkin into smaller pieces so decomposition will be faster. (Be sure to remove any candles or wax inside first.)
-Make a 'bed' of leaves and/or shredded newspaper to put the pumpkin on, be sure to save some to put on top of the pumpkin.
-And as time goes on, you can add fruit, veggies, and yard clippings to it....just be sure not to add anything that comes from an animal (meat, bones, fat, etc).


-If you don’t have a compost pile you can bury the whole or diced pumpkin directly into your garden soil. The winter weather cycle and bacteria will likely break it down by spring. (You may end up with a few pumpkin seedlings sprouting if seeds were in the pimpkin when you burried it.) You can cover your compost pile with a black garbage bag to help speed up the decomposition of it.
So let's make the most out of our friendly little jack o'lanterns and add some nutrients to our gardens instead of the landfill.