We are happy to share our photos and tutorials with anyone interested in spotlighting our crafts. Please be sure to link to our original posts and give us credit for our work. Thank you for your consideration and respect. We hope you enjoy our blog!


Showing posts with label Decorations. Show all posts

Sunday, August 11, 2013

Glass Mushrooms

So here is a super easy way to add some fun to your garden.

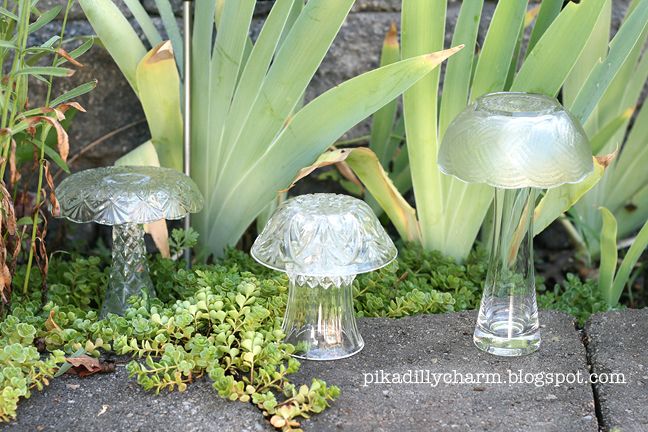
Glass mushrooms!


What You'll Need:

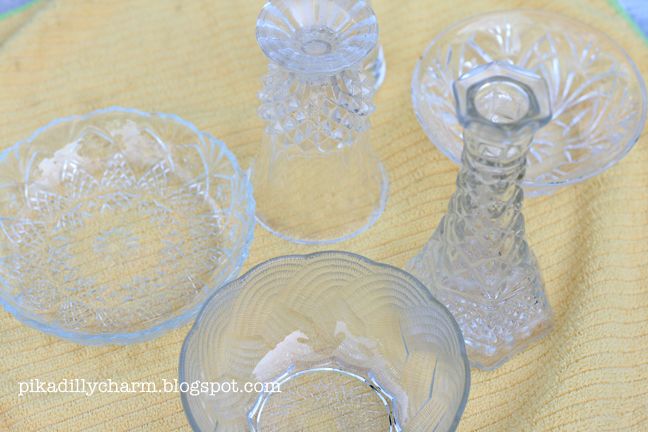
-  Glass vases or goblets from your local thrift store

-  Glass bowls from the thrift store 

-  Glue meant for glass (I found some at my craft store)


 photo GlassMushroom_zpsde79c3a2-1.jpg


The How To:
-  First read the instructions on how to apply and use the glass glue that you purchased

-  Then put the glue on the rim of the vase or goblet

-  Now center the bowl on the top of the vase/goblet and let the glue dry according to package directions.

-  Let it dry for the amount of time indicated on on the glue package.


That's it!  

Now find that perfect spot in your garden to display your mushrooms.  =)

 photo GlassMushroom2_zps63a35a1d-1.jpg

Wednesday, February 6, 2013

Pom pom Garland

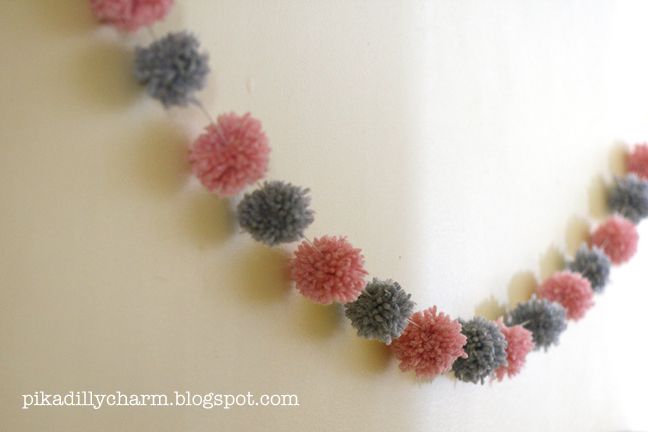
Pom Pom garlands are super easy to make.
In fact they are a great way to use up left over yarn.

 photo pompom8_zps9d989d8d.jpg


What You'll Need:
- Yarn
- Fork (Mine was a larger salad serving fork so I could get larger pom pom's)
- Scissors
- String to hang them on (I used bakers string/twine)
-Needle or scotch tape ( for threading the pom pom's on the string)


The How To:
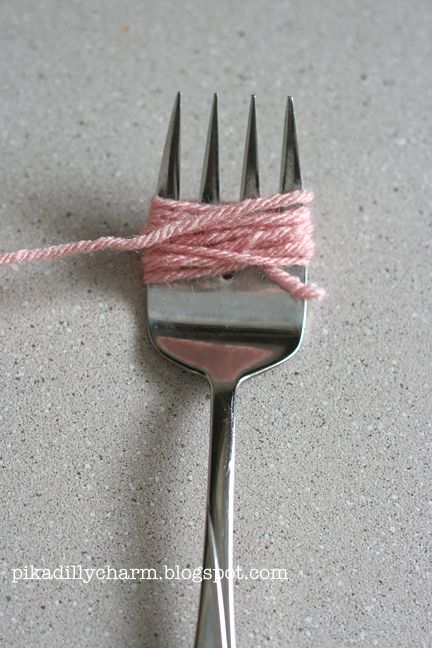
- The first thing you'll need to do is wrap your yarn around the fork about 60-65 times, then cut the yarn.

 photo pompom_zpsbcea1f5b.jpg


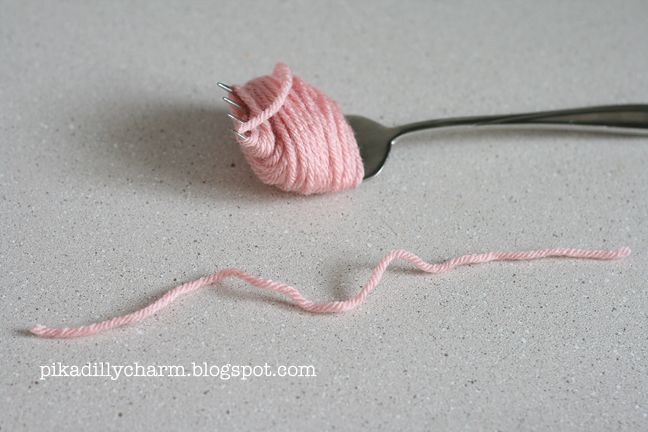
- Now cut a longer piece of yarn (I did mine around 5-6 inches long).

 photo pompom2_zps2d2ced89.jpg


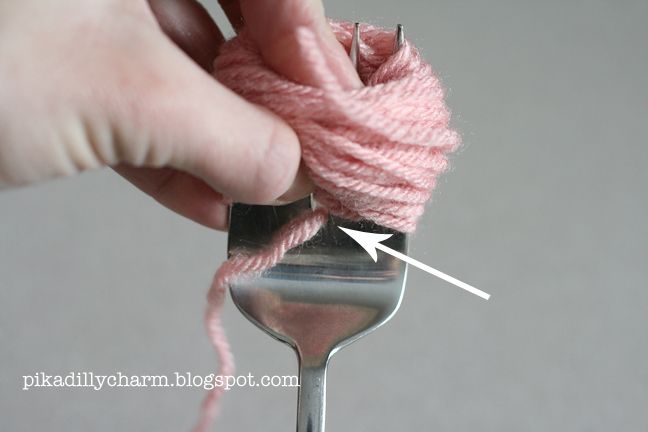
- Then take that 5-6 inch piece of yarn and thread it through the bottom of the middle gap in the fork.

 photo pompom3_zps84738b0f.jpg


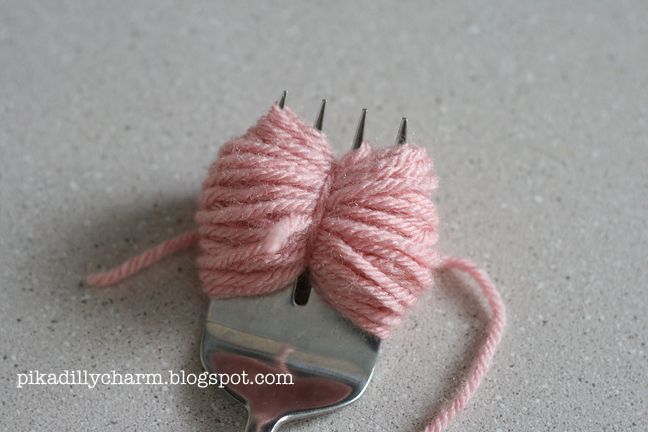
- Then tie it tightly around the middle of your bunch of yarn (shown in picture below).

 photo pompom4_zpse5c26b92.jpg


- Now, slide the yarn off the fork.

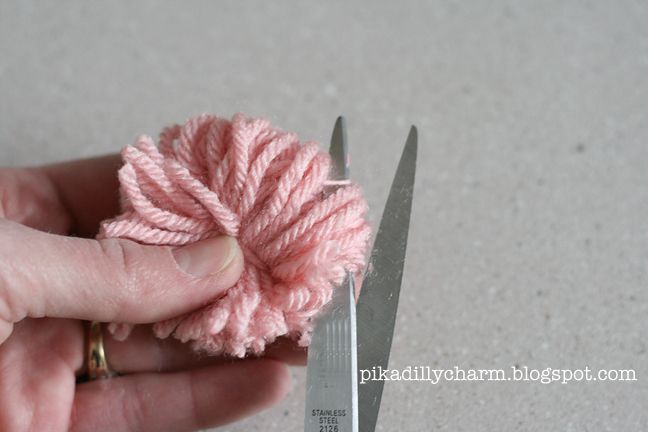
- Then take your scissors and cut through the loops that are on the edge of your yarn 'ball'.
  Keep cutting until all the loops are cut.

 photo pompom5_zps26e32c02.jpg


 photo pompom6_zps56adbcb7.jpg


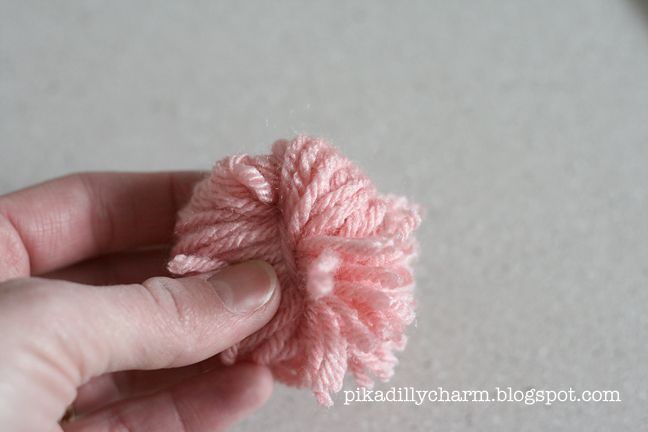
- After you cut all the loops feel free to give the ball a little 'hair cut' and trim any long pieces off and trim it up so it looks more even.

- Repeat the steps above until you have the desired amount of pompom's.

- Next thread your needle on your string (for thicker string using a yarn needle may be easiest) or tape the end of your string to make it so you can string your pompoms on the string.

- Now just poke the needle (or taped end of your string) through the center of your pompom's.

- You are now ready to hang your pompom garland!

 photo pompom8_zps9d989d8d.jpg

Tuesday, November 16, 2010

Felt Mushrooms

Just For Fun

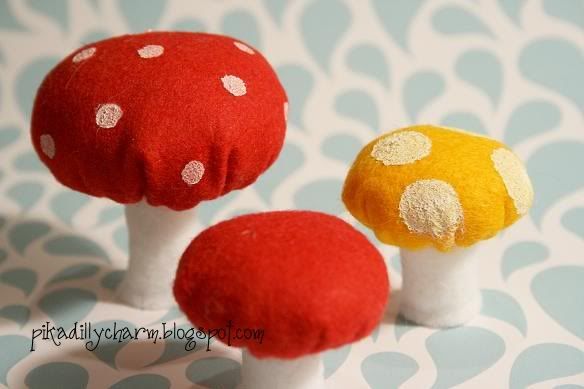
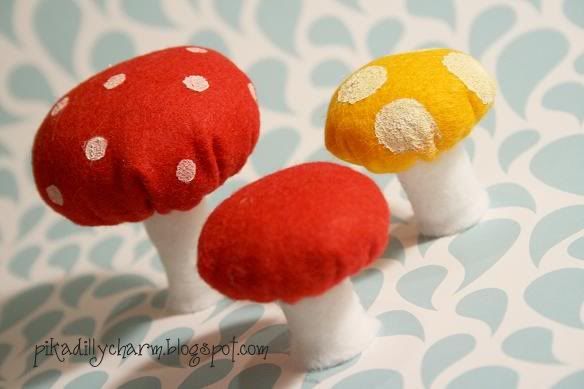
I just fell in love with these cute felt mushrooms.
Photobucket


What You'll Need:
-Felt
-Glue gun
-Needle and Thread
-Batting
-Marker
-Cup or Bowl to Trace (optional)
-Cardboard
-Acrylic Paint (optional)
-Paintbrush (optional)


The How To:
-Before we get into the details of making it, I wanted to give the size of the felt that I cut out. These can be any size you want, but just so you get an idea of how big they will turn out I wanted to let you know how big I made mine. The biggest one has a stem that I cut 4 1/2 x 2 1/2 inches. The diameter of the circle was 4 1/2 inches. And the cardboard used inside the mushroom top was 1 1/4 inches in diameter.


-First cut a strip of felt for the stem. I used white.

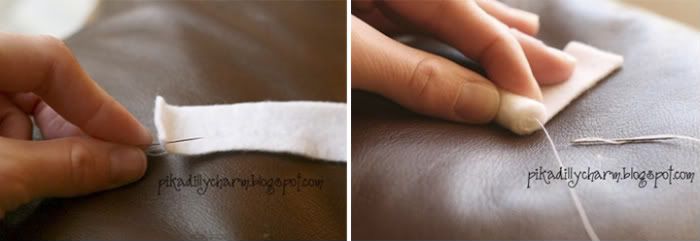
-I then threaded my needle and tied a not in one end of the thread.

- Next pull the needle through one corner on the stem. This will be on the bottom of the stem.

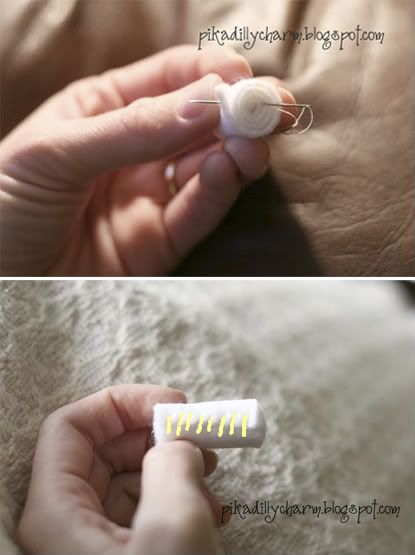
-Now, starting with the end with the thread in it, tightly roll up the strip of felt. Be sure to keep the rest of the thread out side of the roll while doing this.
Photobucket

-After it is all rolled up, inseret the needle into the middle of the roll and out onto the side with the edge of the felt. (see picture below)

-Then use a whip stitch all the way down the side to secure the edge of the felt down. When you get to the last stitch on the stem, reinsert the needle into the felt and come out the middle of that end (just the opposite of the way you started stitching the stem).
Photobucket

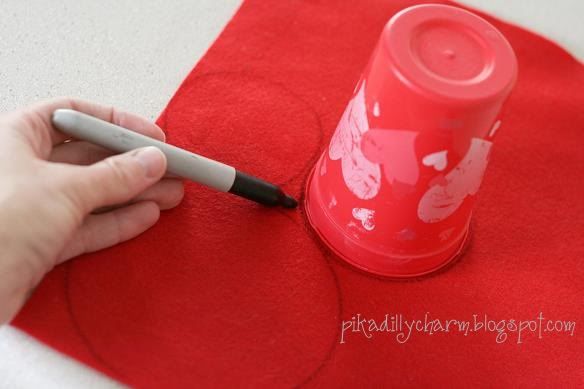
-Next comes the top of the mushroom top. I used different sized bowls and cups to trace circles on to my other color of felt.
Photobucket

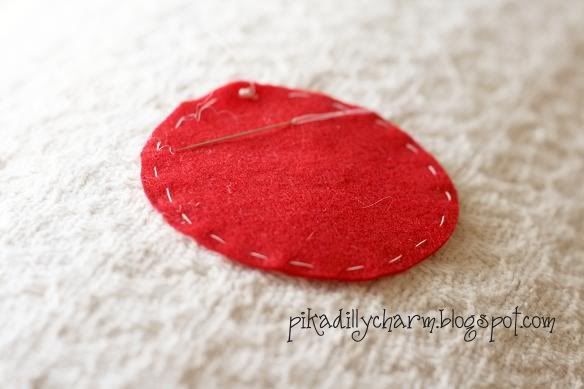
-Then I used my needle and thread to stitch loosely around the outter edge of my circle. And then I cut them out.
Photobucket

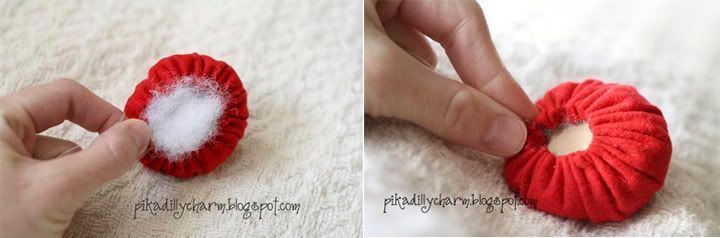
- When I stitched all the way around, I pulled the thread to cinch/pull the mushroom into a ball shape. Don't pull it all the way closed and don't tie the thread off yet.

- Next, stuff the top of the mushroom with the batting.

-Then, take your little cardboard circle and put it in the top.
Photobucket

-Now you can pull the thread tight. But don't tie it off until you have made sure that the opening of it is just a little bit smaller than the width of your stem.

- After you have made sure the stem fits, tie off your thread

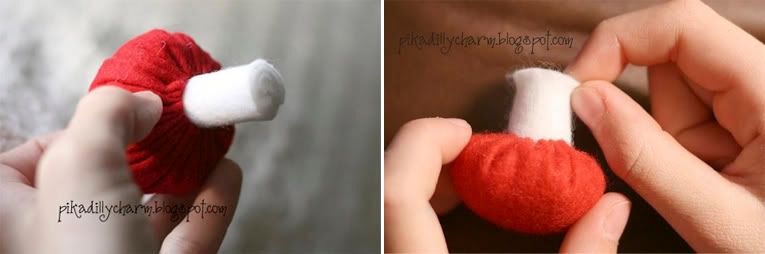
- Next use your glue gun and put glue on the card board. Then stick your stem in the opening and onto the glue.

-I found that my mushroom had a little bit of trouble standing on its own, so I gently used my fingers to pinch/stretch the bottom out a little bit and that seemed to solve the problem.
Photobucket

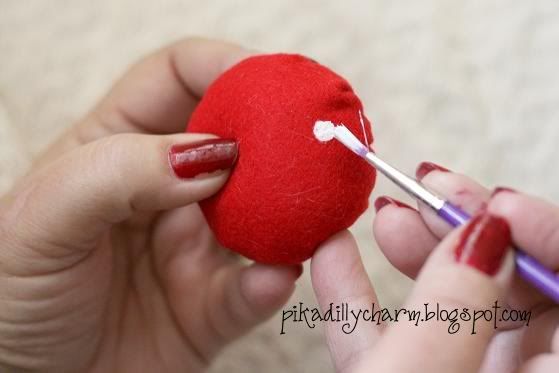
-Then I used my paint and paint brush to add white circle to my mushroom top.
Photobucket


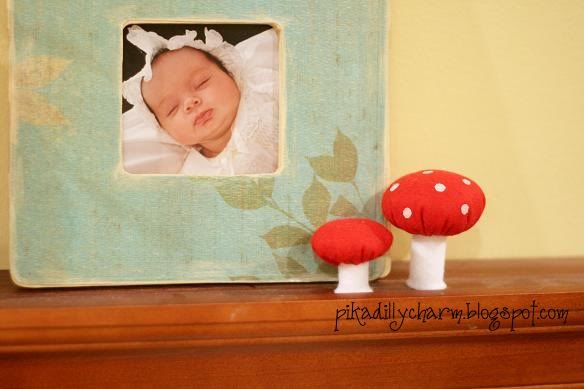
And there you have it!

Photobucket

A cute mushroom that can be used as a cute accent to a room or a great toy that my girls will love using with their fairy dolls.
Photobucket