We are happy to share our photos and tutorials with anyone interested in spotlighting our crafts. Please be sure to link to our original posts and give us credit for our work. Thank you for your consideration and respect. We hope you enjoy our blog!


Showing posts with label Food. Show all posts

Tuesday, March 20, 2012

Sugar Cubes

My youngest and I were a little bored today so we decided to make our own sugar cubes.

They are SO easy to make!  My 5 year old did pretty much everything on her own.

What You'll Need:
- A bowl

- A fork and spoon

- 1 Cup of sugar

- 1 Tablespoon of water

- An ice cube tray

The How To:

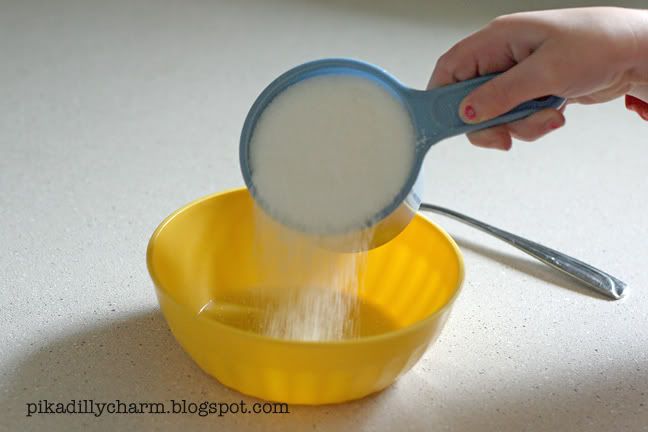
- First pour your cup of sugar into the bowl
Photobucket

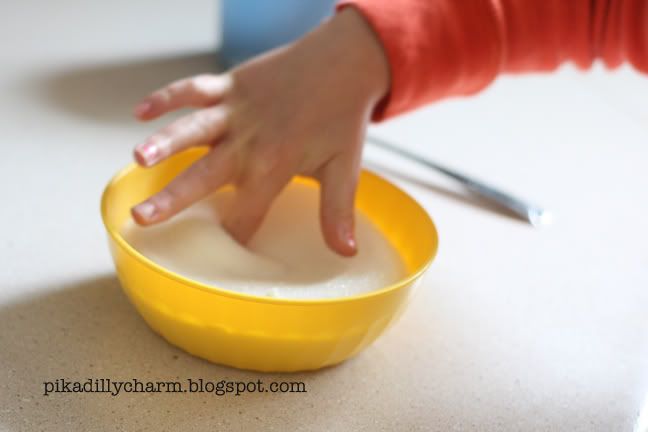
- Then make an indentation in the middle of the sugar and pour your Table spoon of water into it.
Photobucket

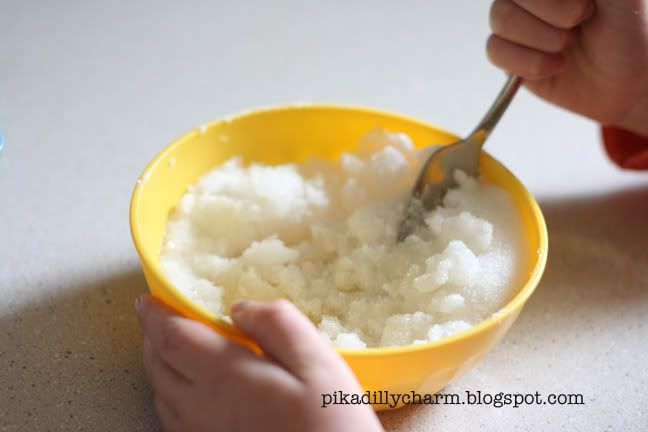
- Next, use your fork to mix the sugar and water. It should have the consistency of wet sand....like the kind used to make sand castles.
Photobucket

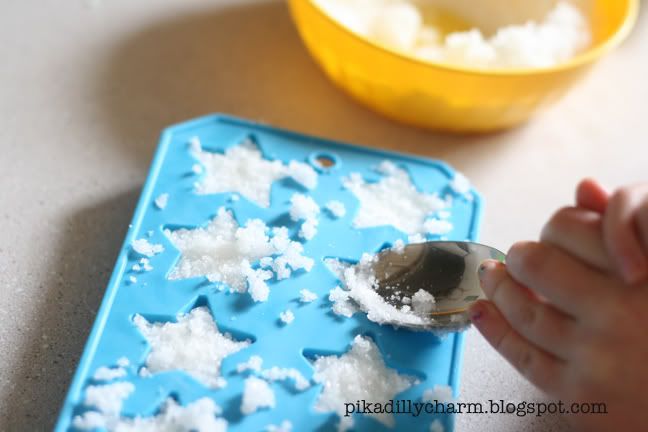
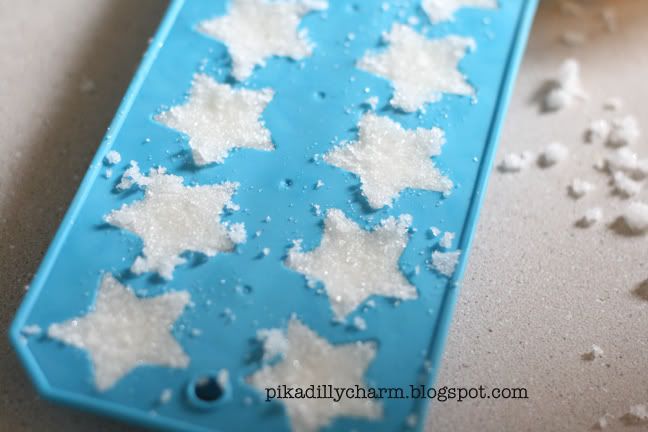
- Now, take your spoon and fill up the spots on the ice cube tray.
Photobucket

- Be sure to use the back of your spoon to really compact the sugar in each mold (that's where I had to help out).
Photobucket

- Then we let them sit out for about an hour to dry out and harden(if you live in a humid place you will need to let them sit out longer)

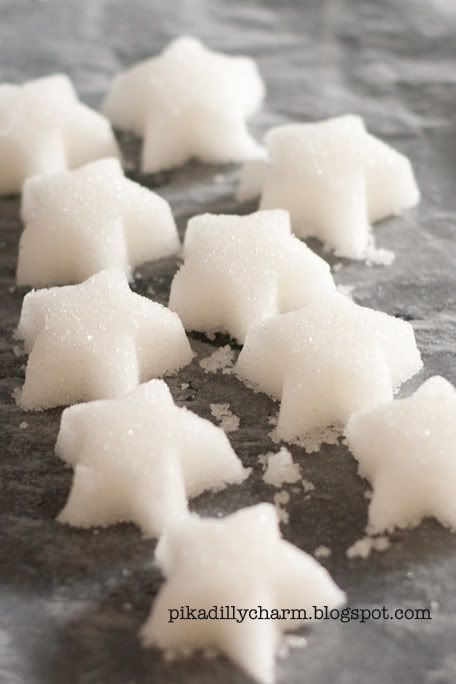
-When they were ready we turned the ice cube tray upside down and gently tapped the sugar cubes out.

And now they are ready to eat!
Photobucket

Sunday, December 18, 2011

Oreo Truffes

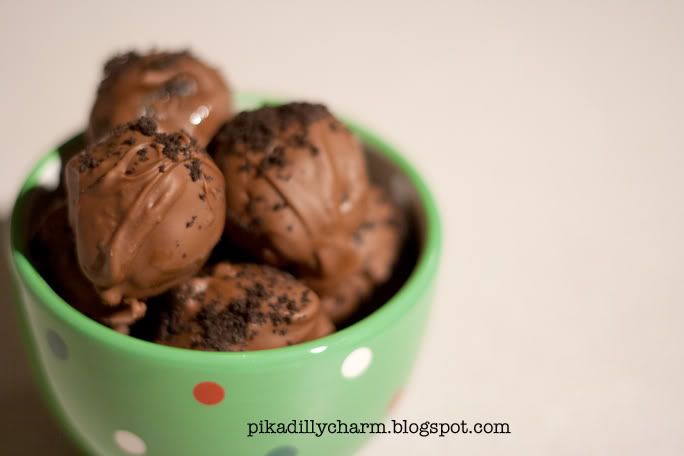
I couldn't believe how yummy these truffles were!! An added bonus is that they are pretty easy to make too and only need 3 ingredients. Woohoo!


Photobucket


What You'll Need:
- 1 8oz package of softened light cream cheese

- 1 16 oz package of Oreo cookies (store brand Oreos taste just as good in this recipe)

- 16 oz of milk-chocolate baking chocolates


The How To:
- First you will need to crush up all the cookies into fine crumbs. You can do this in a blender, food processor, or you can crush in a resealable plastic bag using a rolling pin.

- Set aside a 1/2 cup of the crumbs for later use.

- Next you will mix together the cream cheese and cookie crumbs.

- Now roll them into 2 inch balls.

- After they are all rolled out, melt the chocolate according to the directions on the package.

- Then dip each ball into the melted chocolate and set aside on a cookie sheet.

- Sprinkle the balls with the cookie crumbs that you set aside.

- Now refrigerate them for about 1 hour or until they are firm.

-Enjoy! But remember, if there are any left overs they need to be stored in the refrigerator. =)

Sunday, September 18, 2011

Chocolate Banana Pops

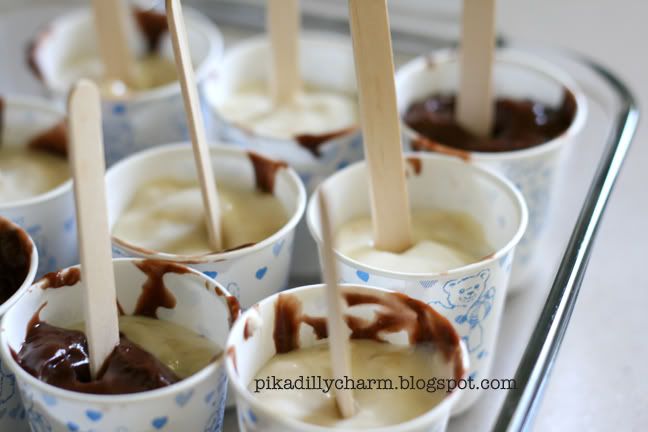
Yummy CHOCOLATE BANANA POPS

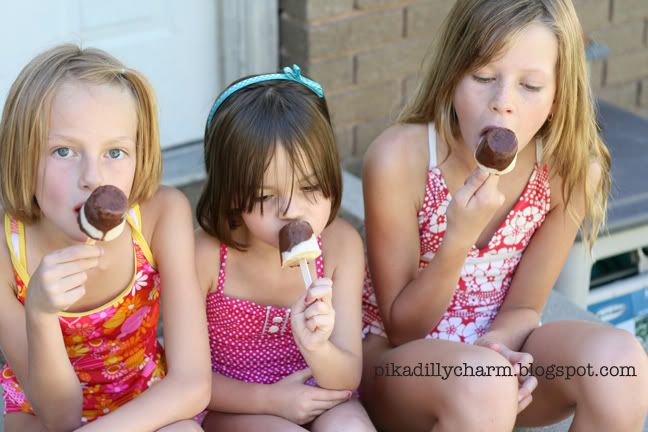
This is a great treat for the kids to make....and for everyone to eat.

What You'll Need:
- 1 ripe banana

- 2 cups of milk

- 1 box of chocolate fudge instant pudding mix

- 1 container of vanilla yogurt

- 9 waxed cups (the small 5 oz size)

- 9 craft/popcicle sticks

- 1 small baking dish


The How To:
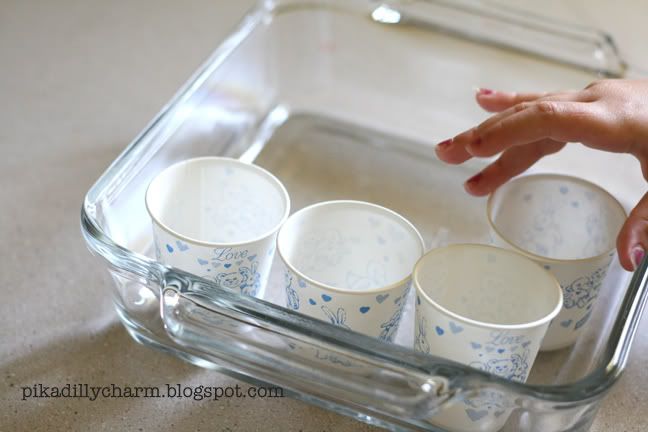
-First, put the cups in the baking dish. This is to help them stay up while freezing and make easier to move them.

Photobucket

- Next in a bowl mix the pudding mix and the milk in a bowl for about 2 minutes. Let it sit in the fridge for about 5 minutes.

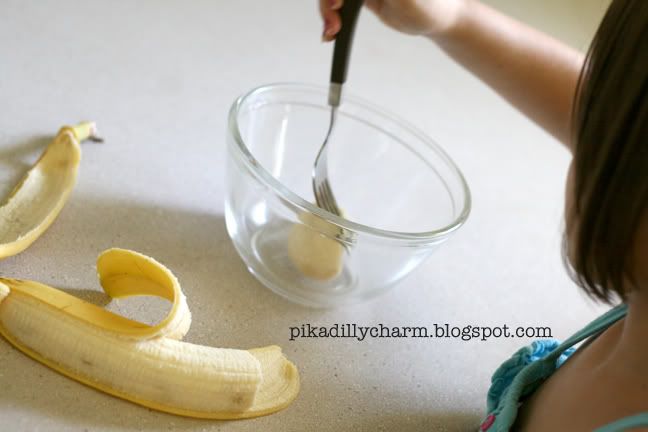
- Then in a different small bowl mush the banana up with a fork and then add the yogurt to it. And mix it up.

Photobucket

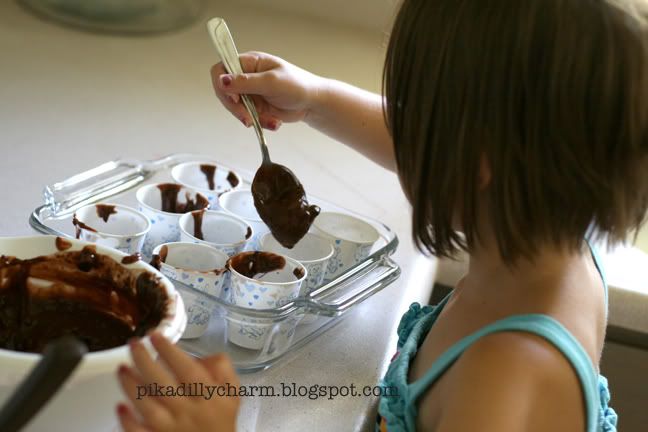
- Now, put a couple of spoon-full's of pudding in each little cup.

- Then put a couple of spoon-full's of the yogurt in each little cup.

-And if there is any extra pudding and extra room in your cups fill with the remaining pudding.
Photobucket

- Be sure to gently tap the baking dish with all the cups in it on the counter to help level out the pudding/yogurt mixture.

- Then put one of the craft/popcicle sticks in the center of each cup.

Photobucket

- Pop the banana pops in the freezer for about 2 hours or until they are frozen/firm.

- To eat, just peel the paper cup off of the banana pop and then enjoy!

Photobucket

Tuesday, August 2, 2011

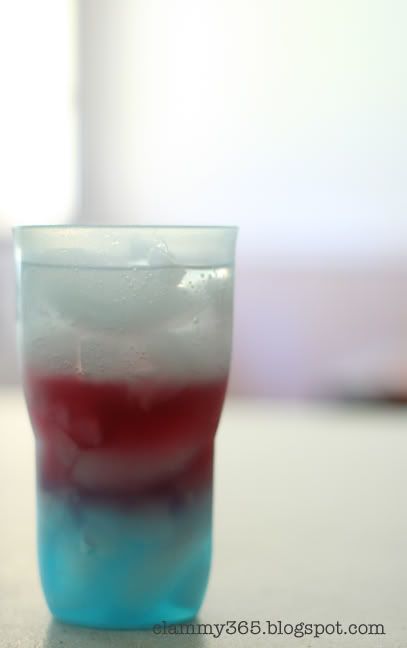
A drink of many colors


Photobucket

To make this fun drink you will need:

- A cup
- Ice cubes
- Diet 7-up or Sprite
- Wild berry gatorade Fierce
- Lite CranGrape Juice

But really you can use any kind of juice/soda....they just need to have different amounts of sugar in them.

The How to:
- First fill your cup to the top with ice.

- Next pour in the drink that has the MOST sugar in it. In this case it is the Wildberry gatorade.

-Then VERY gently pour the drink with the 2nd most sugar (the lite crangrape juice) slowly onto an ice cube. Doing this will help keep the flavors/colors from mixing together.

- Now comes the last drink (Diet 7-up). Do the same with it as the last one....pouring slowly over the ice.

And there you have it. A drink of many colors.

Saturday, February 26, 2011

Festive Cupcake Toppings

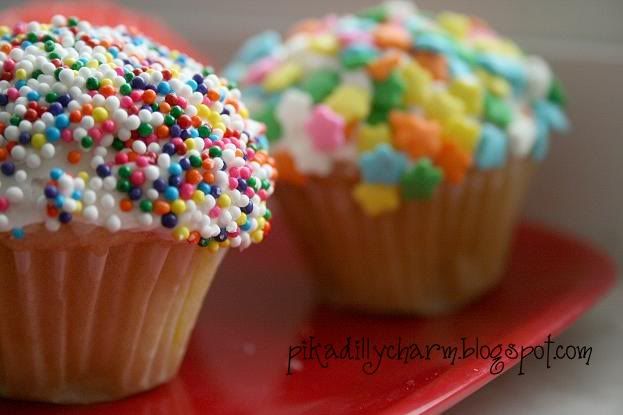
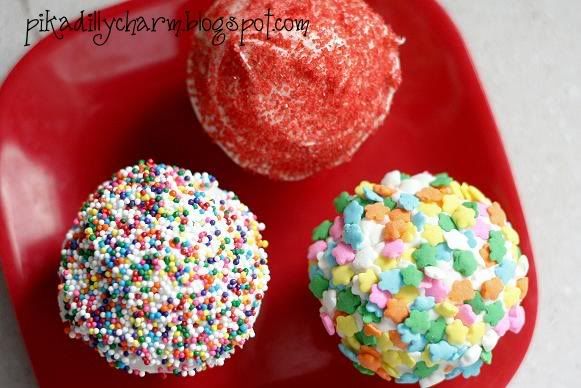
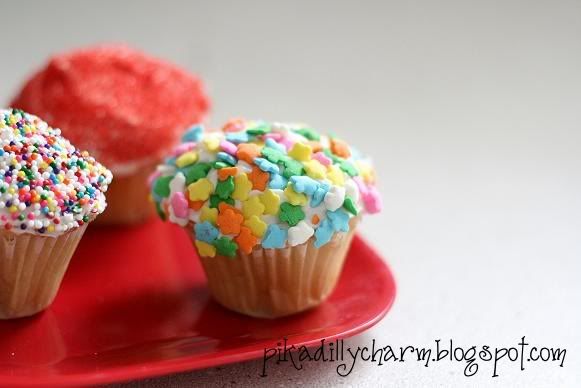
My 4 years old said that these taste like the rainbow.

Photobucket

What You'll Need:

- Cake mix

- Cupcake baking tin

- Cupcake liners

- Can of frosting

- Bowls

- Frosting knife

- Sprinkles etc for toppings. (the dollar store or the dollar section of target is a great place to get them)


The How To:
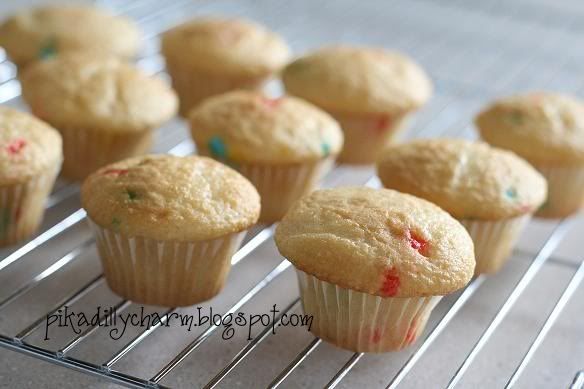
- First cook your cup cakes according to the directions on the cake box. Use cup cake liners if desired.

Photobucket

- After the cupcakes cool, frost them.

- Put some of the sprinkles in a bowl.

- Next hold your cupcake upside down and dip/roll/rotate the frosted top in the sprinkles until you have the desired amount on it.

- Now serve, eat, and enjoy them.

Photobucket

Photobucket


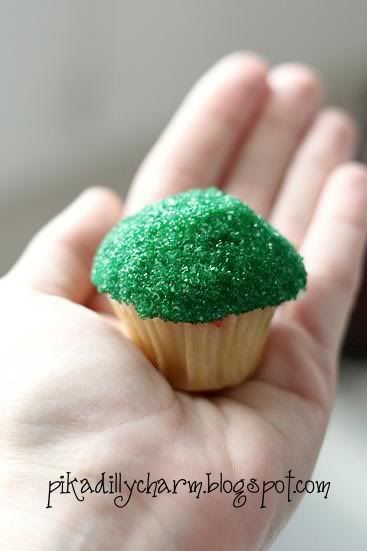
And look, wouldn't these be super cute for a St. Patricks Day treat!

Photobucket