We are happy to share our photos and tutorials with anyone interested in spotlighting our crafts. Please be sure to link to our original posts and give us credit for our work. Thank you for your consideration and respect. We hope you enjoy our blog!


Showing posts with label Paper Crafts. Show all posts

Tuesday, January 22, 2013

Take along Ice skaters

You know how when you are at a restaurant or at the doctors office and the kids start getting restless and bored?
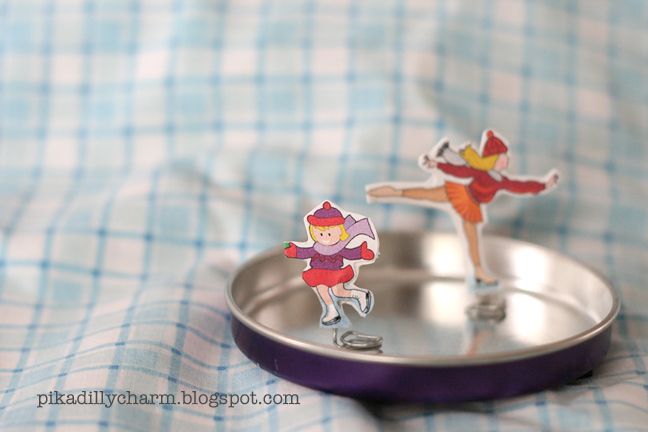
Well, here is a fun little toy that you can take along with you anywhere to help entertain them.
It fits in a mint tin.

And it is pretty easy to make.
Photobucket

What you will need:

- A mint tin (as in an Altoids mint tin or something similar)
- Computer and printer
- Pliers
- Paper clip
- Glue stick
- Magnets (note:  I had to use some fairly strong magnets for it to work well)
- Scissors


What to Do:
- First I did a search on the internet for an ice skater image that I liked.

- I had to resize it to about 1 1/2 inches

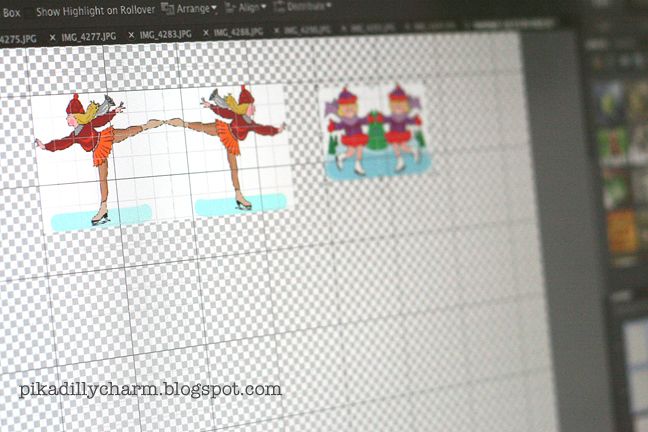
- Then I made a copy of the image and flipped it.....so it looked like a mirror image (shown in the photo below)

- I lined them up so that the edge of each ice skater was touching.

- Next print the ice skaters

Photobucket


-  Now its time to pull out those handy dandy scissors and cut them out.

-  Next grab your pliers and paper clip.

-  Take your paper clip and straighten out one end of it with the pliers. (After I straightened it I bent the very tip of it over to help reduce the risk of my kids accidentally getting poked by it.)

- With the other end of the paper clip use the pliers to twist it until it looks similar to the photo below.

- After twisting the bottom to look like below, try to make sure that it is flat on the very bottom of the paper clip...this is the part that will help keep the ice skater standing up.
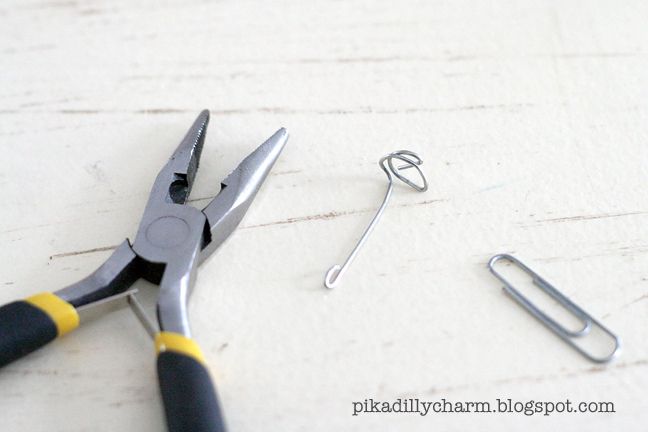
Photobucket


- Now, fold your cut outs in half at the points where they meet.

- Then coat the inside of the ice skater with glue and place the straight end of the paper clip inside of each skater.
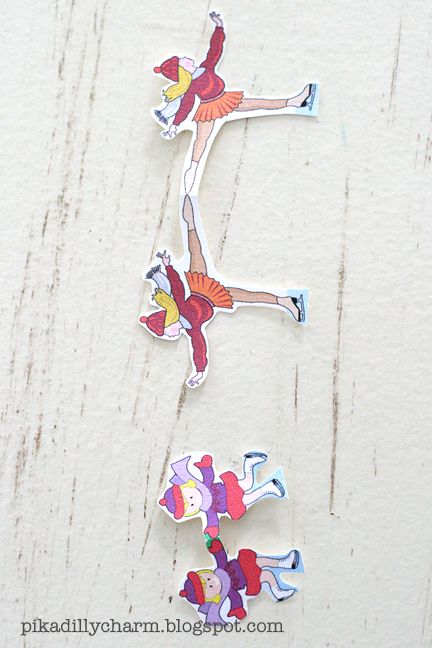
Photobucket


And that is pretty much it.

- When your kids want to play with it they stick the magnet(s) on the underside of the tin bottom (or lid) and the ice skaters on the opposite side. So they can guide them around from the underside of the tin.

- And when they are not playing with it just put the skaters inside of the tin and close the lid and stick it in your purse or pocket.

-And if you wanted to I'm sure you could use some scrapbook paper and modge podge to decorate the outside of the tin too.  =)
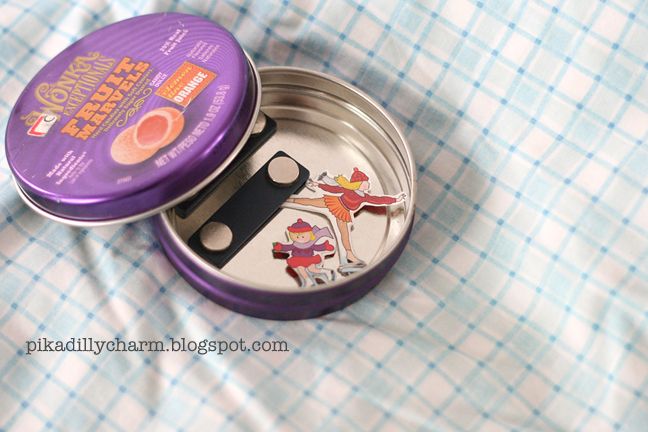
Photobucket


Photobucket

My kids love playing with this.  And since there are 2 ice skaters and a top and bottom to the container I chose, 2 kids can play together.

And the ideas with this are endless....

you can do ballerinas, cars, animals, bugs, dinosaurs.....


Have fun with this and if you have any questions feel free to ask away!

Wednesday, May 4, 2011

Seed Paper Card

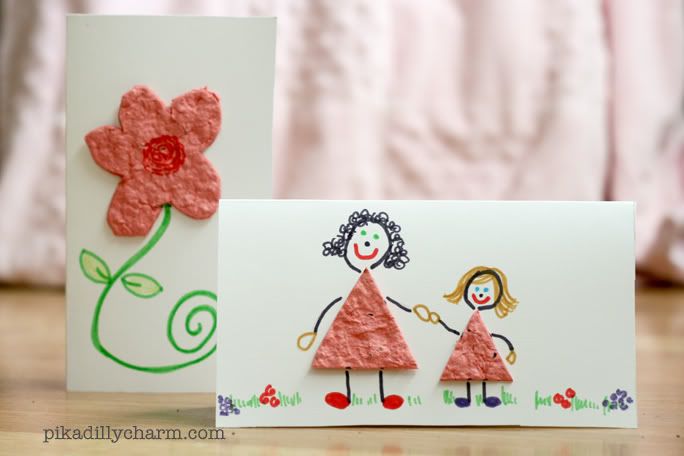
For Spring I thought that it would be fun for the kids (with some adult help) to make some cards with seed paper as part of them.
Photobucket

What You’ll Need:
- Scraps of construction paper
- Blender
- Packet of flower seeds
- Wooden spoon
- Water
- Dish rag
- Colander/strainer
- 3 towels
- Pieces of felt (optional)
- Scissors
- Blank card or a piece of card stock
- Glue
- Pen/pencil

The How To:
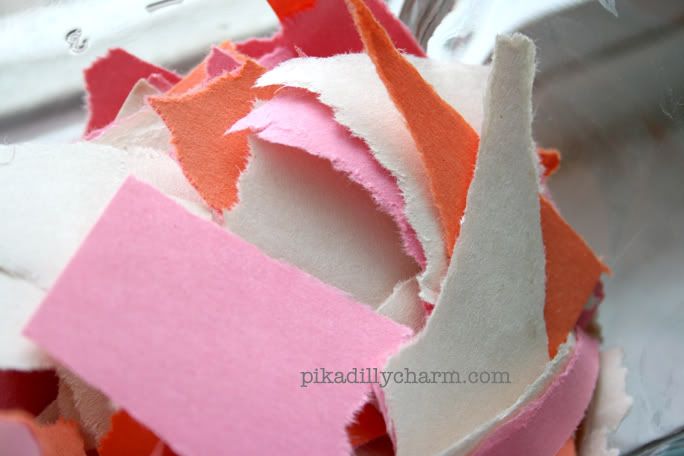
- First tear your construction paper into small pieces and put them in your blender.
- Then add enough water to cover the paper and then blend it up.
I was really hesitant to do this in my blender, but it didn’t hurt my blender at all.
Photobucket
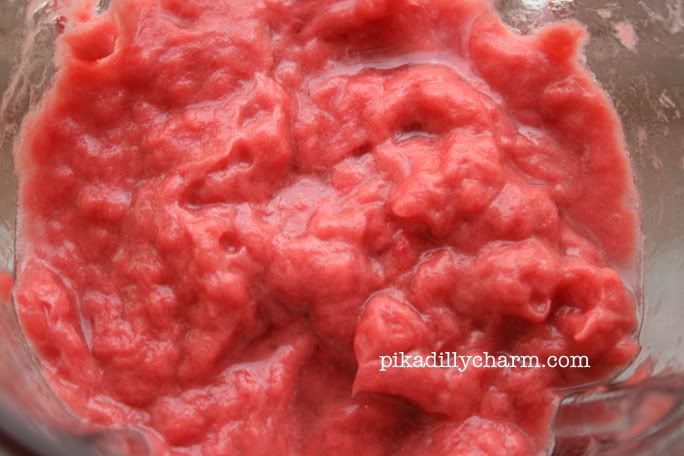
- If needed you can add a little more water to it.

It should look something like this:
Photobucket
-  Next, unplug your blender.

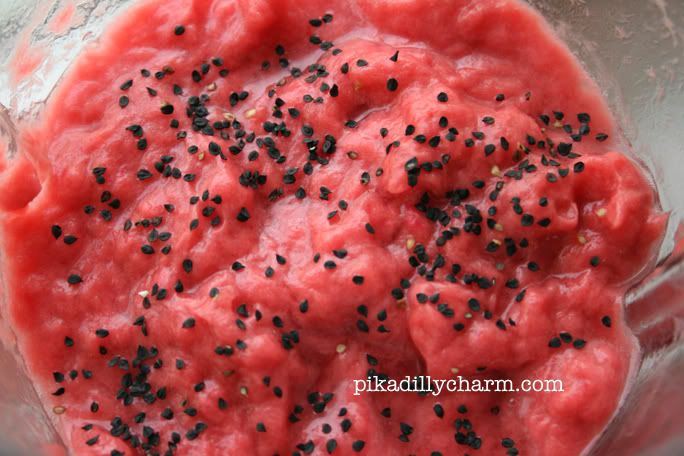
- Now add some seeds to your paper mixture.
Photobucket
- Then gently mix the seeds into the mixture.  Be sure to use your wooden spoon for this!
Photobucket
- Next I put my dish rag in the bottom of the colander/strainer and then poured the mixture out of the blender onto the dish rag.
This is to help drain some of the water off of the paper and keep it from falling through the holes in the colander/strainer.
I usually let it sit like this for 5-10 minutes to help drain as much water as possible.
Photobucket
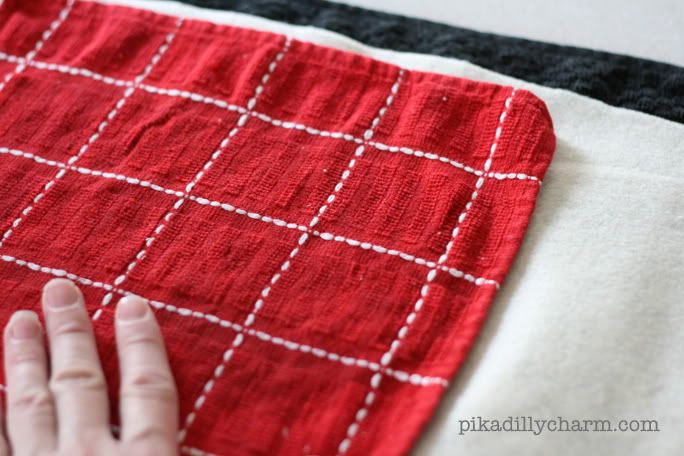
-  Then I place a towel down on the counter (mine is the black one)
- On top of the towel I put the piece of felt (optional)
- Next comes the pouring of the paper mixture out of the colander and onto the felt.
- Now, using your hands, gently spread the paper mixture out on the felt.
Photobucket
Photobucket
- Then I take one of my other towels and put it on top of the paper and gently press on it to help absorb water off of the paper.  When that towel is wet I change it out for my other towel.  I do this a few times through out the day to help speed up the drying process.  And then I let it  sit out over night uncovered.
Photobucket
- Another way to help speed it up is by using a hair dryer on it.

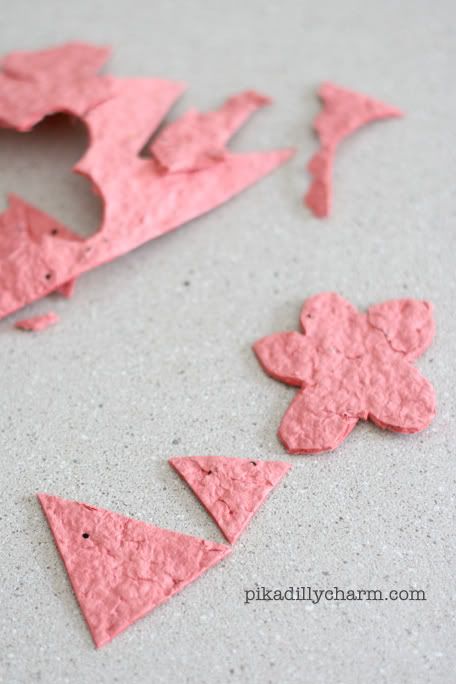
- When it is dry it will be like stiff paper.  Decided what design you want to create with it then draw or trace it on to the seed paper.
- Next cut it out.
Photobucket
- Lightly glue the seed paper on to your card/card stock.
- Then draw (or have your children draw) the rest of your picture with markers, crayons, colored pencils, etc.
- On the inside be sure to put a note in it that the seed paper can be planted and they can grow their own flowers with some TLC.
Photobucket