We are happy to share our photos and tutorials with anyone interested in spotlighting our crafts. Please be sure to link to our original posts and give us credit for our work. Thank you for your consideration and respect. We hope you enjoy our blog!


Showing posts with label Valentine's Decor. Show all posts

Friday, January 24, 2014

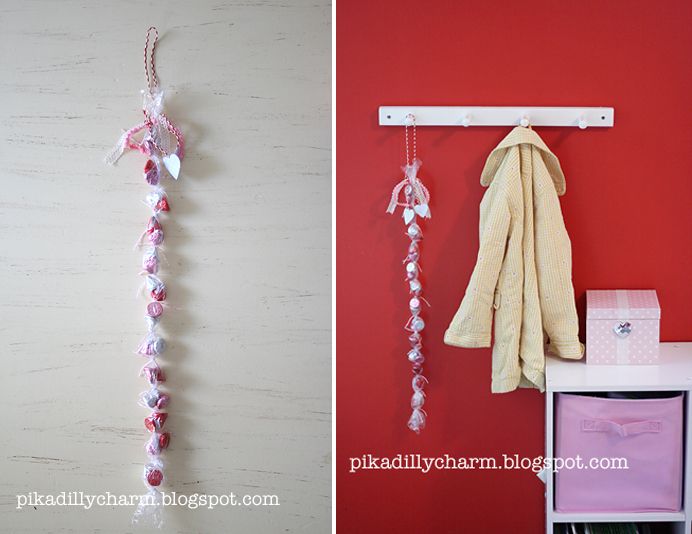
A Kiss Countdown

Here is a fun way to count down the days until Valentines Day.  After all...who doesn't love to get kisses?

What You'll Need:
- A bag of Hershey Kisses
- 25 - 30 inches of Plastic Wrap (like Saran Wrap) Mine was 12 x27 inches long
- Twine or ribbon


The How To:
- First lay your piece of plastic wrap out on a table

- Then lay out two rows of 13 kisses on the plastic wrap.  (see photo 1 below)

- Now fold one side of the plastic wrap over the rows of kisses. And now fold the other side of the plastic wrap over the kisses. (see photo 2 below)

- Next, you will use your twine/ribbon to tie the plastic wrap into 13 sections.  2 kisses will be in each section. (see photo 3 below)

-Then you can embellish it with ribbon, hearts, or what ever you want (photo 4)
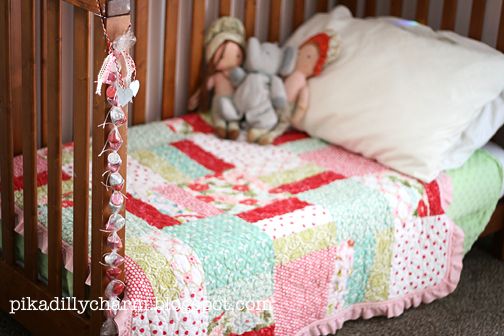
 I tied on a piece of twine that was long enough to allow me to hang the countdown on door knobs or coat hooks or whatever.

The countdown is meant to start on February 1st.
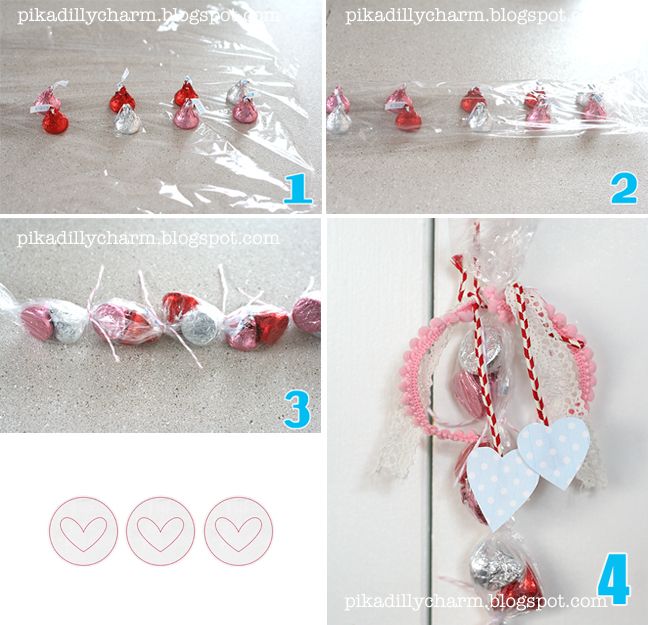
 photo KissCountdown1_zpsdbe3c124.jpg

 photo KissCountdown3_zpsa6708954.jpg

 photo KissCountdown2_zps68f6e249.jpg 

My kids are excited to start getting their 'kisses' each day.  =)

Wednesday, February 6, 2013

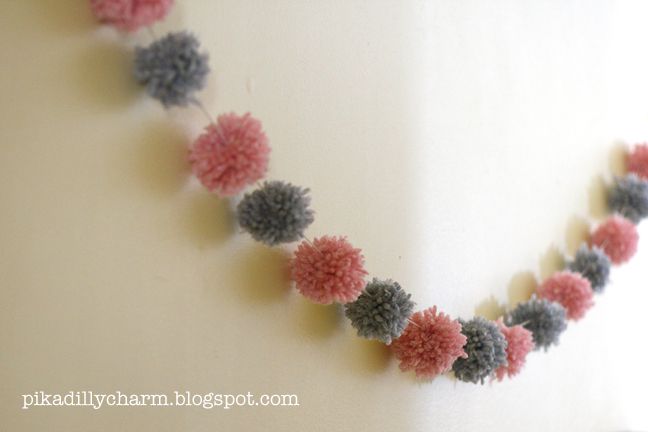
Pom pom Garland

Pom Pom garlands are super easy to make.
In fact they are a great way to use up left over yarn.

 photo pompom8_zps9d989d8d.jpg


What You'll Need:
- Yarn
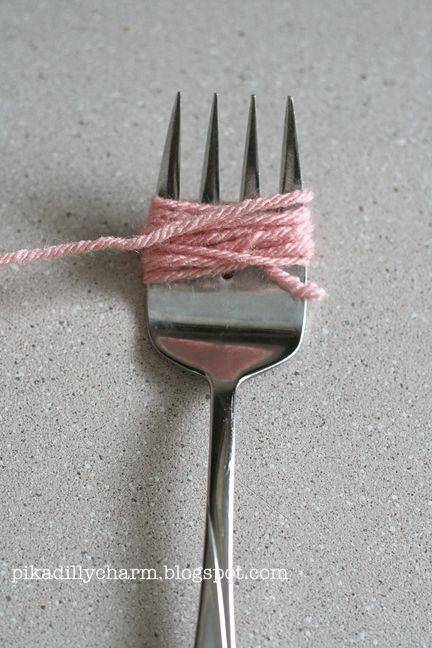
- Fork (Mine was a larger salad serving fork so I could get larger pom pom's)
- Scissors
- String to hang them on (I used bakers string/twine)
-Needle or scotch tape ( for threading the pom pom's on the string)


The How To:
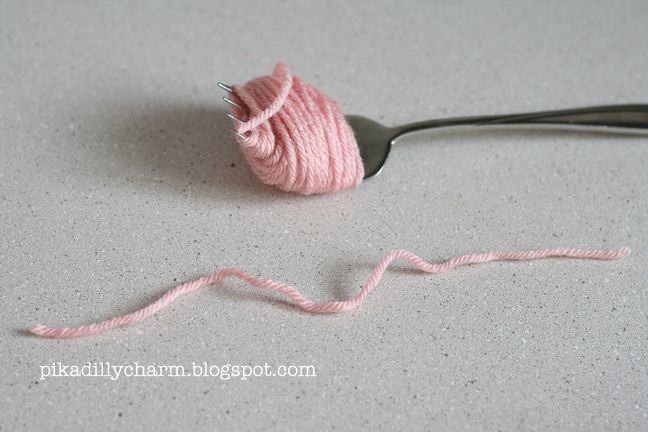
- The first thing you'll need to do is wrap your yarn around the fork about 60-65 times, then cut the yarn.

 photo pompom_zpsbcea1f5b.jpg


- Now cut a longer piece of yarn (I did mine around 5-6 inches long).

 photo pompom2_zps2d2ced89.jpg


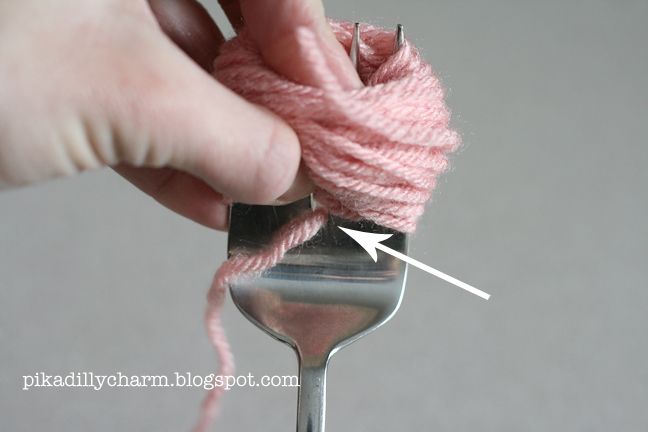
- Then take that 5-6 inch piece of yarn and thread it through the bottom of the middle gap in the fork.

 photo pompom3_zps84738b0f.jpg


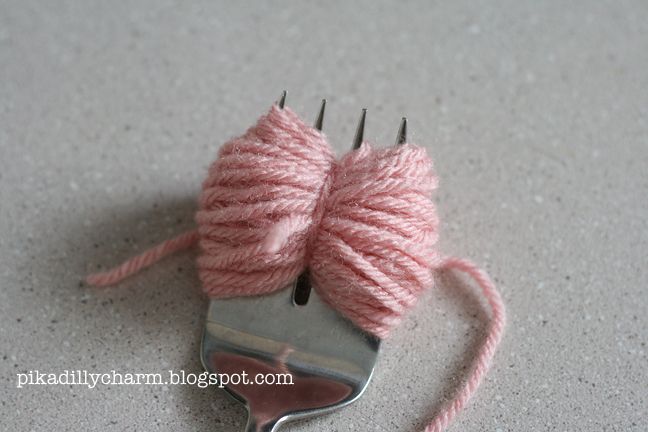
- Then tie it tightly around the middle of your bunch of yarn (shown in picture below).

 photo pompom4_zpse5c26b92.jpg


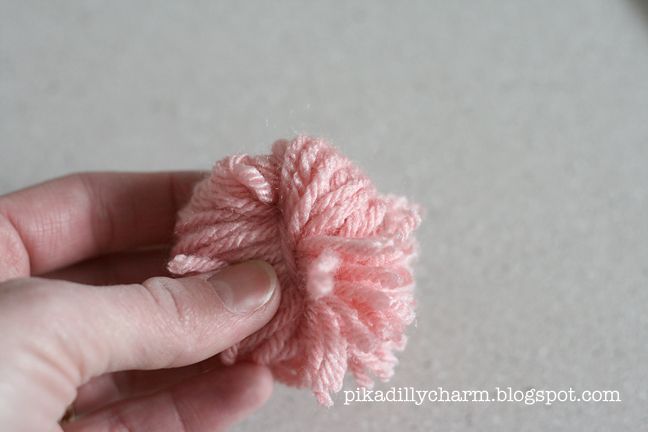
- Now, slide the yarn off the fork.

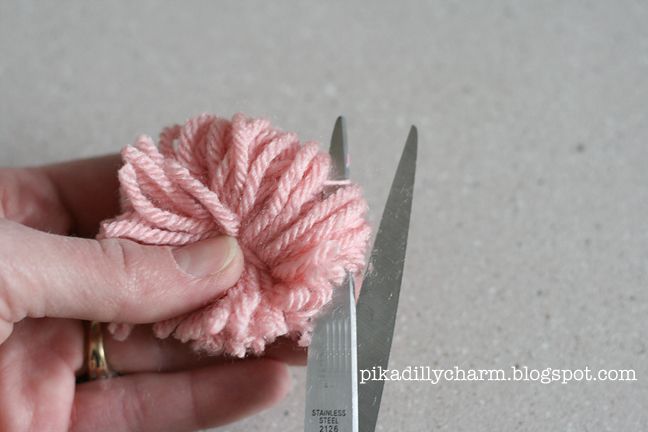
- Then take your scissors and cut through the loops that are on the edge of your yarn 'ball'.
  Keep cutting until all the loops are cut.

 photo pompom5_zps26e32c02.jpg


 photo pompom6_zps56adbcb7.jpg


- After you cut all the loops feel free to give the ball a little 'hair cut' and trim any long pieces off and trim it up so it looks more even.

- Repeat the steps above until you have the desired amount of pompom's.

- Next thread your needle on your string (for thicker string using a yarn needle may be easiest) or tape the end of your string to make it so you can string your pompoms on the string.

- Now just poke the needle (or taped end of your string) through the center of your pompom's.

- You are now ready to hang your pompom garland!

 photo pompom8_zps9d989d8d.jpg

Sunday, February 12, 2012

Valentines Decor

Here is a pretty easy way to add some 'love' to your home decor.
Photobucket


What You'll Need:
- Fabric (I used an old curtain)
- Black paint
- Red felt or fabric
-Lace or material to hang pennants from
-Hot glue gun


The How To:
- First decide how large you want your pennants to be.

- Then cut out a pennant for each of the letters and spaces in your valentine saying.

- Next paint the letters on them.

- Trace some hearts on the red fabric and then cut them out.

- Then hot glue the hearts where you want them on the pennants/banner.

-Next hot glue the pennants on to your lace.

Photobucket

Photobucket

For added fun I strung the banner across an old frame empty frame that I had laying around.

I also added a silhouette in the corner of the frame to add to the fun of it.

Wednesday, February 9, 2011

Fabric Valentine wreath

Photobucket

What You'll Need:
- 1 1/2 yards of fabric (Needs to be a little stiff so it will stand up on the wreath)

- Styrafoam Heart

- Hot glue gun

- Ribbon

- Scissors (or rotary cutter and a cutting mat)


The How To:
- First cut your fabric into strips. Most of mine are 2 inches wide by 20 inches long. I did do some that were 2 inches by 10 inches to add a little variation to the wreath.

Photobucket

- Next, hold one end of a strip of fabic with your thumb and pointer finger.

- And then start wrapping the fabric around your fingers. Wrap it around kinda loosely.

- Then, put some glue from the glue gun on the end of the strip of fabric and finish rolling it all up. This will hold the end in place.

Photobucket

- Now, pinch an end of the fabric roll.

- Look at the other end of the fabric roll (and form it a little if needed) to look like a flower/rose.

- I then added a few drops of glue to the pinched end to help the 'flower' hold its shape.


Photobucket

- Now, put a spot of glue on the top side of the wreath.

- Then press the end of your fabric flower on to the glue.

Photobucket

- Do the same thing for the rest of your fabric flowers until your wreath is filled to your liking.

Photobucket

- Then hang it from your front door or somewhere in your house with some ribbon (which you can either tie on or glue it to the back of the wreath....mine is tied on)

Photobucket

Monday, January 17, 2011

Love Letters!

Make a sweet wall decoration using Valentine's Day candy and sprinkles.


Look around your kitchen for anything you can use to make your letters with.  Like candy, sprinkles or donuts.  But don't limit it to just foods.  You could use confetti, beads, glitter, etc...use your imagination!

Pour the candy (or whatever you choose) onto a plate and trace your letter in it.  Take a picture.  Do this for all your letters.

Load your pictures onto your computer, crop the letters and print them out.