
Just For Fun
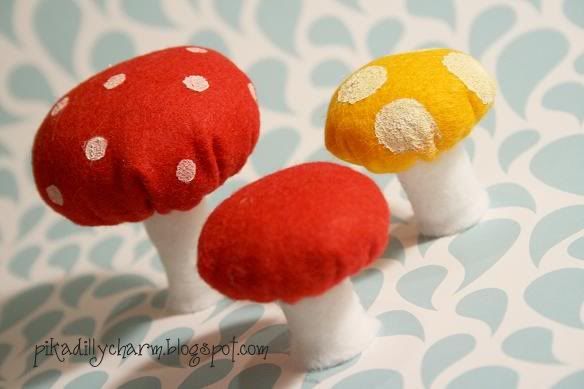
I just fell in love with these cute felt mushrooms.
-Cardboard
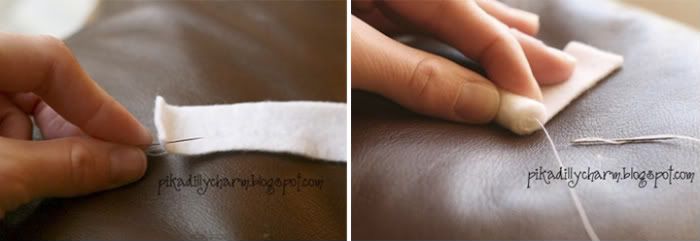
- Next pull the needle through one corner on the stem. This will be on the bottom of the stem.
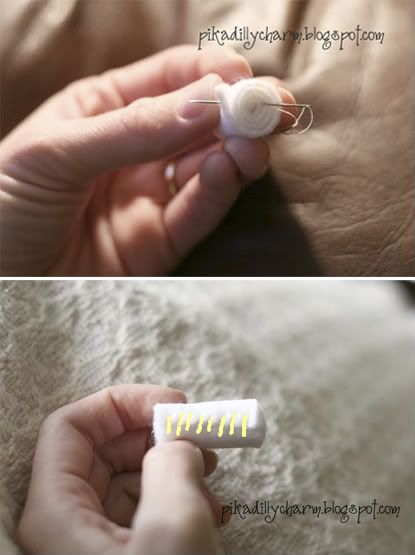
-Now, starting with the end with the thread in it, tightly roll up the strip of felt. Be sure to keep the rest of the thread out side of the roll while doing this.
-After it is all rolled up, inseret the needle into the middle of the roll and out onto the side with the edge of the felt. (see picture below)
-Then use a whip stitch all the way down the side to secure the edge of the felt down. When you get to the last stitch on the stem, reinsert the needle into the felt and come out the middle of that end (just the opposite of the way you started stitching the stem).
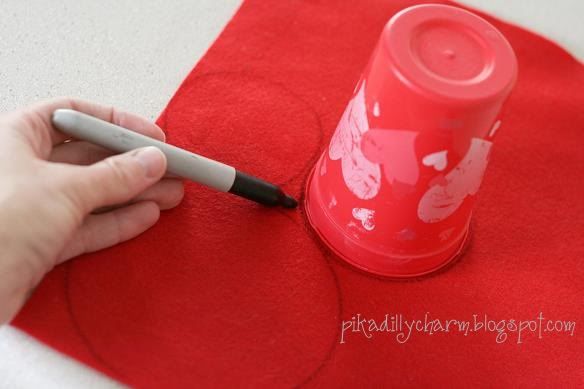
-Then I used my needle and thread to stitch loosely around the outter edge of my circle. And then I cut them out.
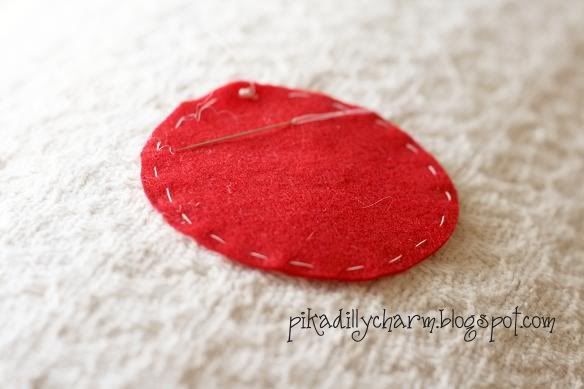
- When I stitched all the way around, I pulled the thread to cinch/pull the mushroom into a ball shape. Don't pull it all the way closed and don't tie the thread off yet.
- Next, stuff the top of the mushroom with the batting.
-Then, take your little cardboard circle and put it in the top.
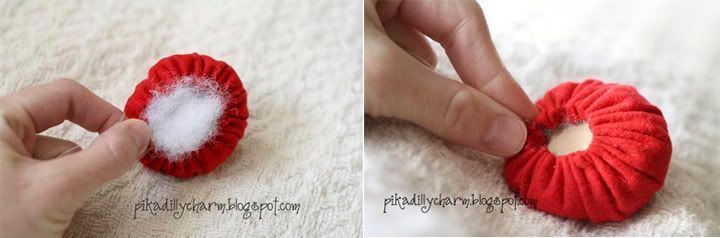
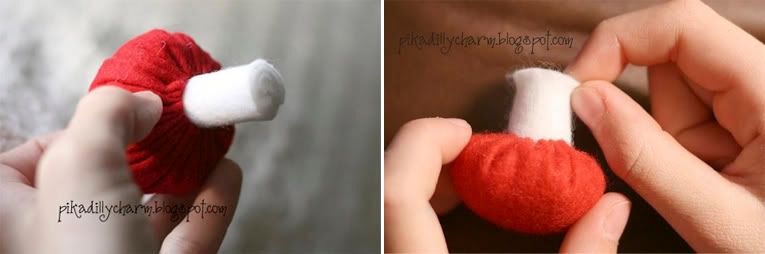
-Now you can pull the thread tight. But don't tie it off until you have made sure that the opening of it is just a little bit smaller than the width of your stem.
- After you have made sure the stem fits, tie off your thread
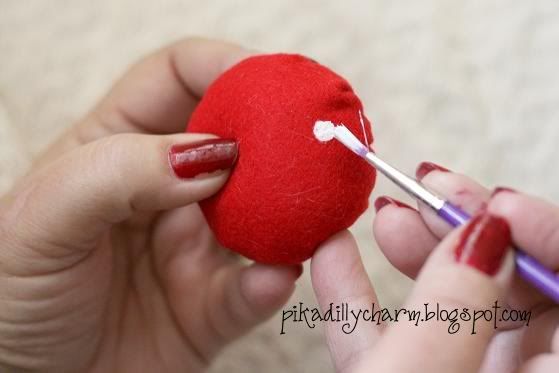
- Next use your glue gun and put glue on the card board. Then stick your stem in the opening and onto the glue.
-I found that my mushroom had a little bit of trouble standing on its own, so I gently used my fingers to pinch/stretch the bottom out a little bit and that seemed to solve the problem.
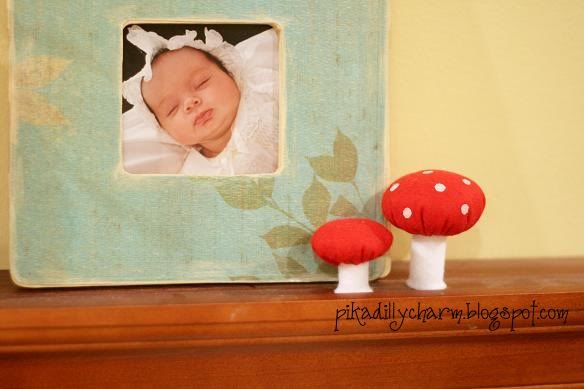
And there you have it!
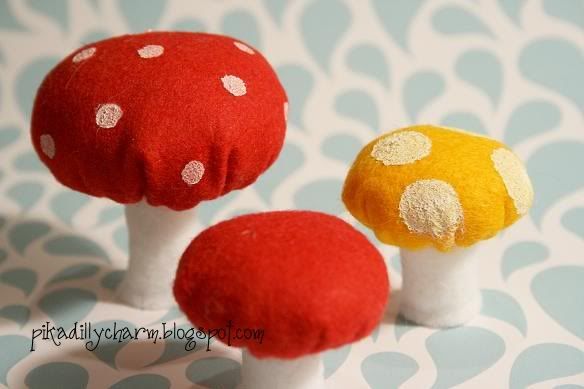
A cute mushroom that can be used as a cute accent to a room or a great toy that my girls will love using with their fairy dolls.
2 comments:
They came out great!
they are beautiful!
Post a Comment