
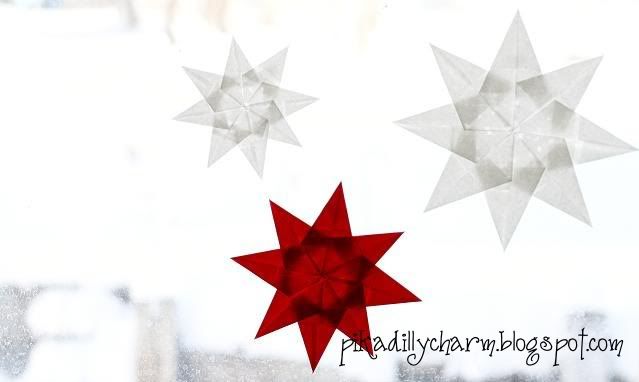
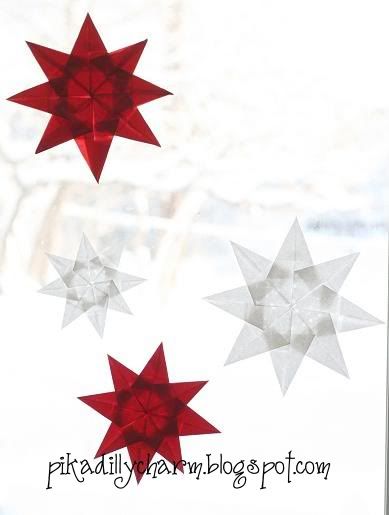
Here is something other than snowflakes to decorate with during the winter months.
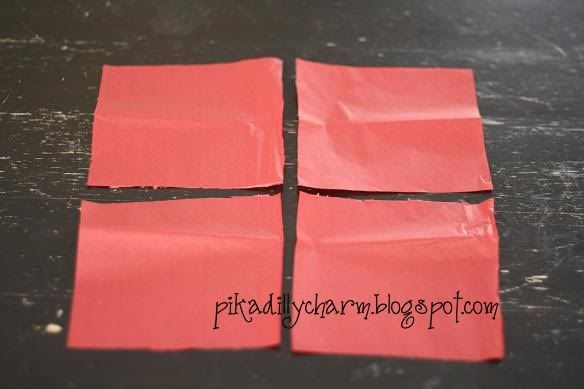
-Then, take one of the smaller squares and fold it in half. And then fold it in half again (so you have a smaller square).
-Unfold it and you should have a square with fold marks on it ( these will be a guide in the next step).
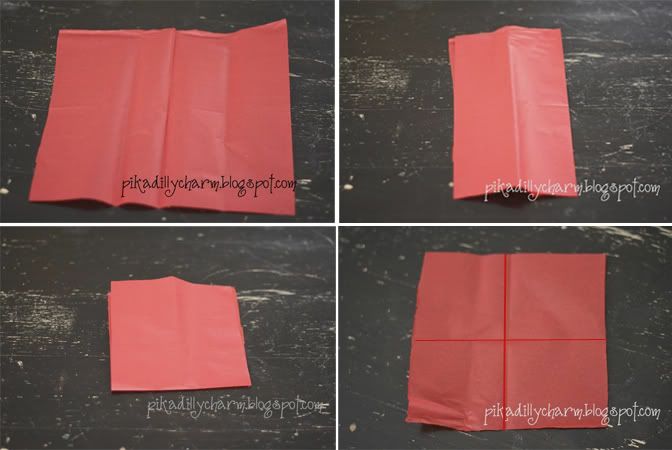
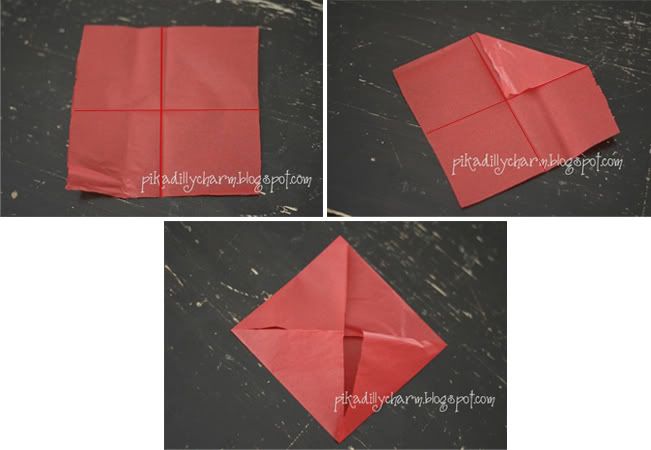
-Then, lay your square in front of you so it looks like a diamond.
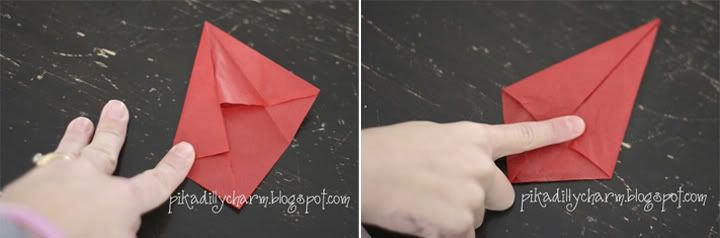
-Next, fold the point/corner on the left to the center fold to form a point and the top.
-Then do this with the point on the right also.
-Now your paper should remind you of a kite.
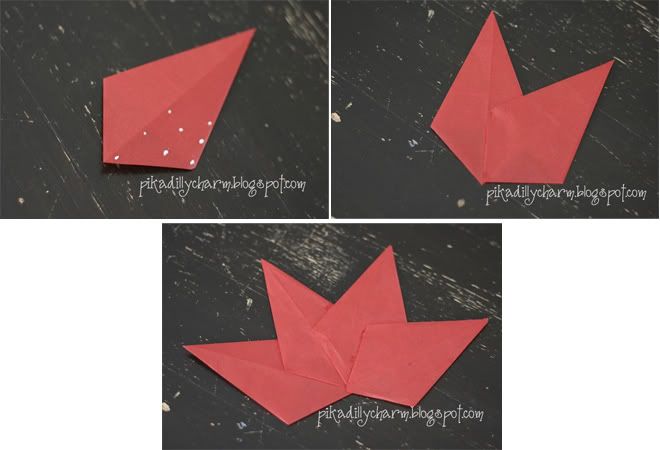
-Do this with the other 7 small squares.
-Now comes the time to glue them together.
-Put several drops of glue on half of one side of the back of your point (the side that is smooth and doesn't have all the folded pieces).
-Then, place one of the other points onto this one as shown in the picture. Making sure that the end points overlap each other.
-Continue to do this until you come to the last point of your star.
-Now instead of just laying this last point on top of the others, you want it to blend in with the rest of the star.
-So, to do this lift up the edge of the last point that is not glued down and the edge of your first point that is not glued down.
-Push the edge of your last point down/under the first point.
-Then put drops of glue on your last point and glue the first point on top of it. (see illustrations below)

And there you have it!
My kids love the design that you can see through the paper when they are hung on the window
1 comment:
So pretty!
Post a Comment